
With all of us practicing social distancing due to COVID-19, speech therapists and other professionals are no longer able to hold in-person sessions with their students/clients. So, we’ve evaluated all of the common platforms to find the best way to use SpeechBox in a video conference. Our tests reveal Zoom wins for simplicity and versatility. Runner up was Google’s Hangouts or Hangouts Meet. The worst was Microsoft Skype as it didn’t work at all. In this tutorial, I’m going to show you how to use SpeechBox in a Zoom video conference for both Macintosh and Windows desktop computers. Tip: If you don’t have a desktop but use the Zoom app on your iPad, you can follow directions here.
Zoom supports mirroring of your iPhone or iPad via Airplay or Lightning wired connection, and I’ll show you both. You’ll want to do this process before a “real” video conference because it might ask you to restart your Zoom desktop client. I do assume that you have the latest Zoom Desktop client for Mac or Windows and are familiar with setting up a Zoom video meeting.
Getting Started
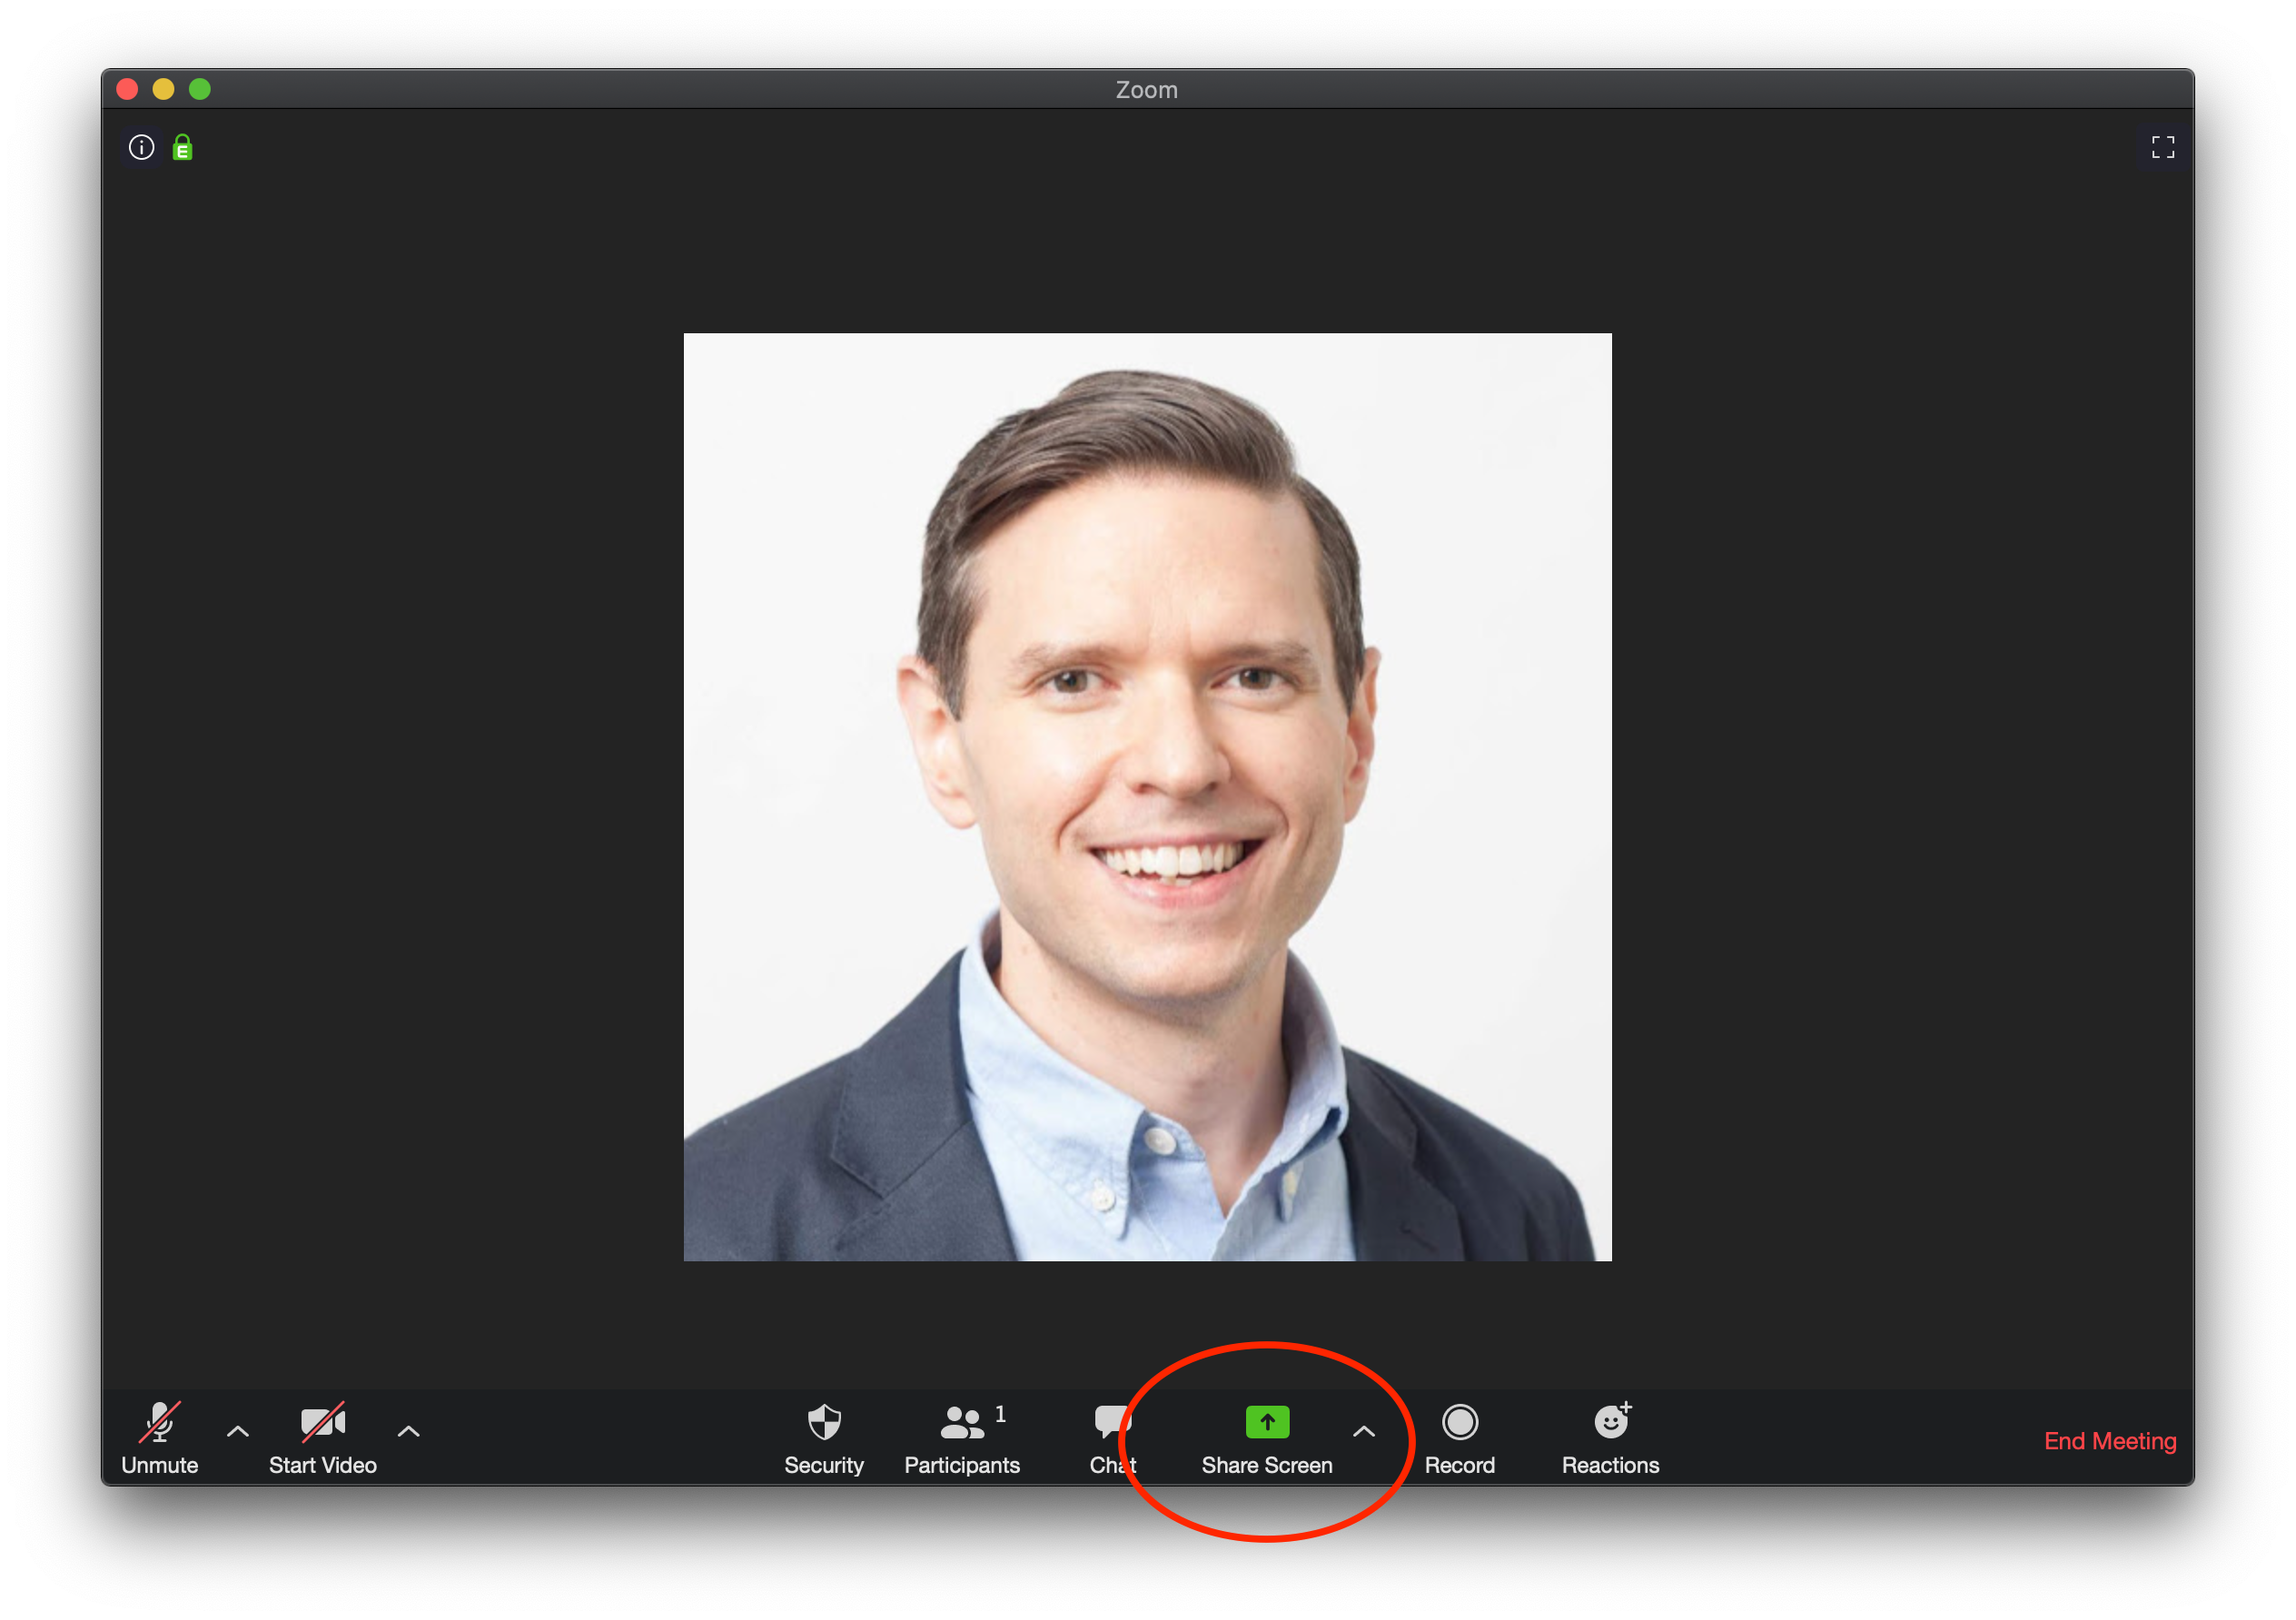
While in your Zoom conference, click the “Share Screen” button:
Next, you’ll want to select either iPhone/iPad via Airplay or via Cable. I’ll go over each, but I’ve found the cable to be the simplest if you’re using a Mac desktop. (Note: SpeechBox is also available for Mac desktop, get the app here.)
Airplay Connection (PC or Mac)
Select Airplay and make sure “Share computer sound” is checked off in the lower left hand corner, then click “Share”:

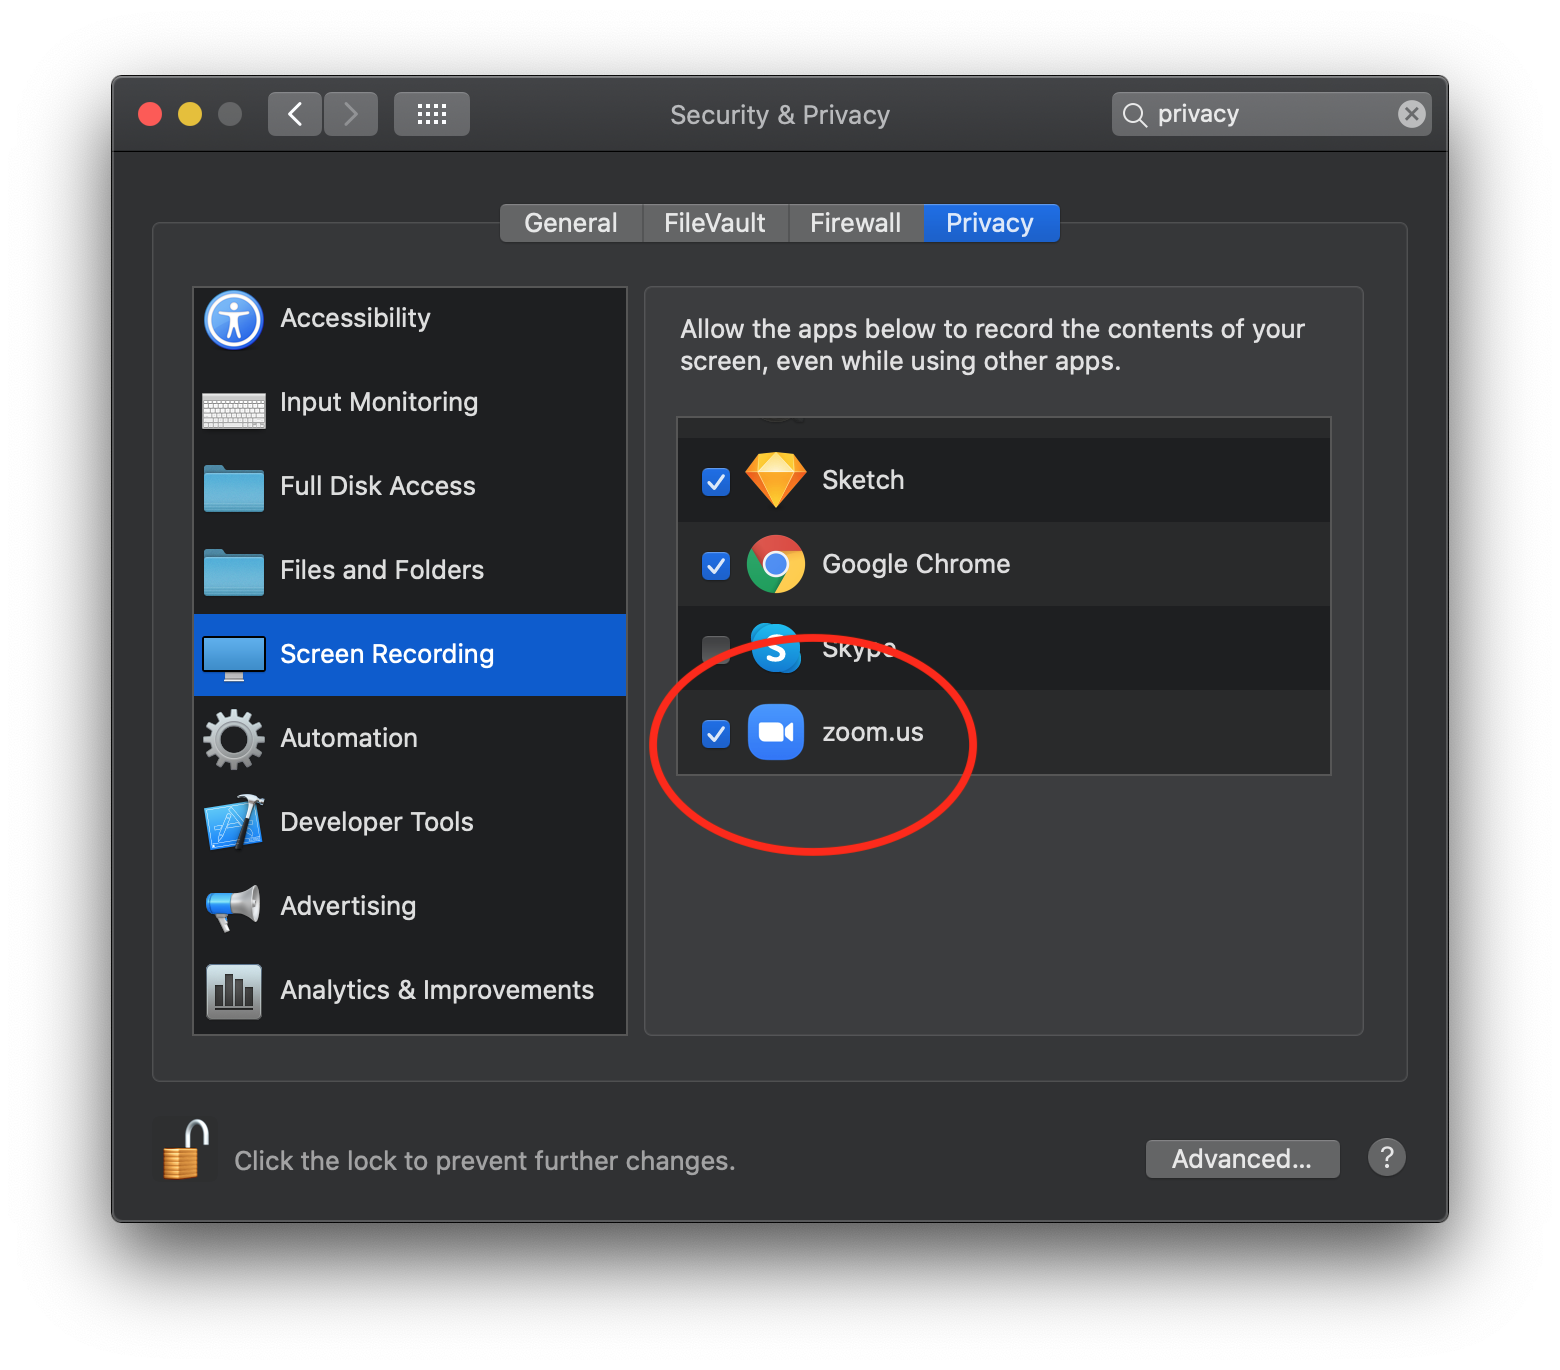
You then may be prompted to install a plugin on your desktop (only one time). If you’re using a Mac, it may also ask you to grant permission for Zoom to use screen recording. This is found in Settings > Security & Privacy > Privacy > Screen Recording. Then scroll and check-off zoom.us:
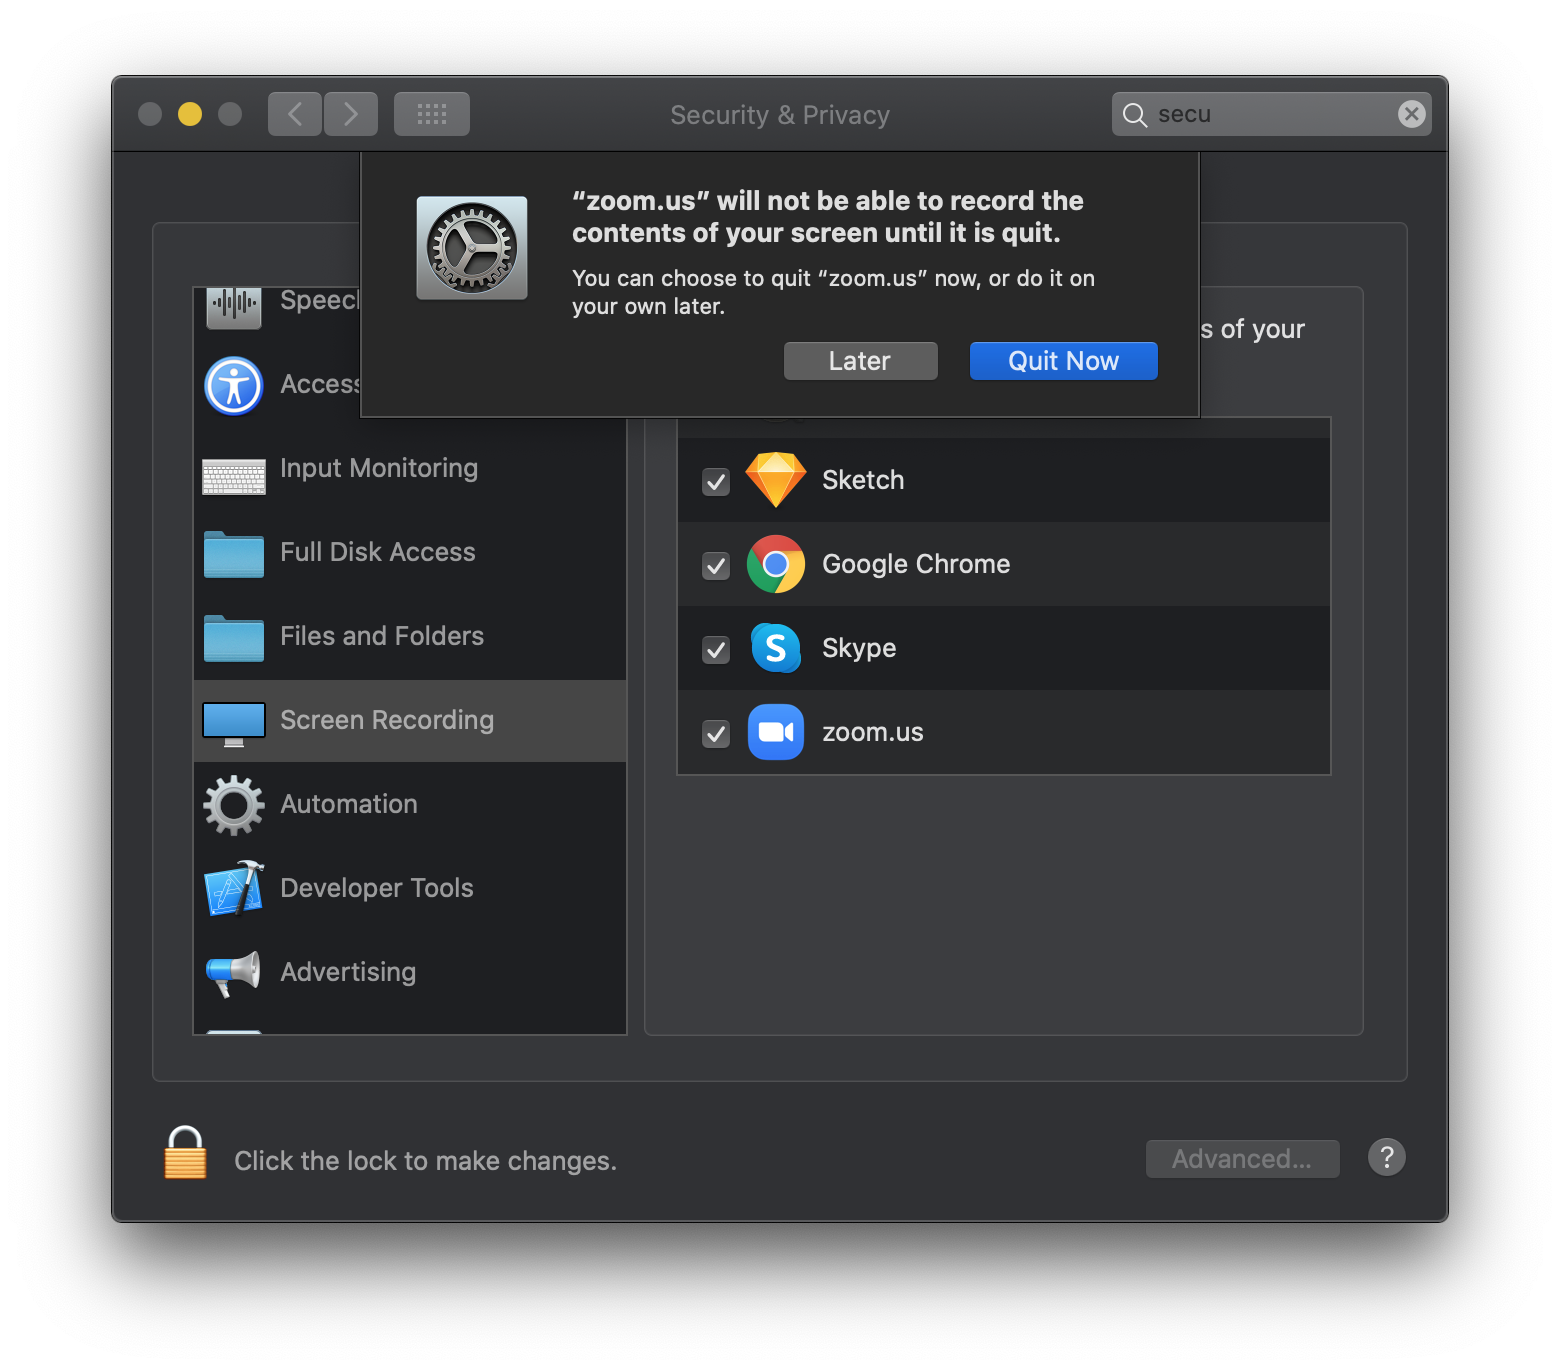
Upon checking off zoom.us, it will ask you to restart your Zoom desktop client:
Next, you’ll see instructions how to connect your iPhone/iPad to your desktop via Airplay:

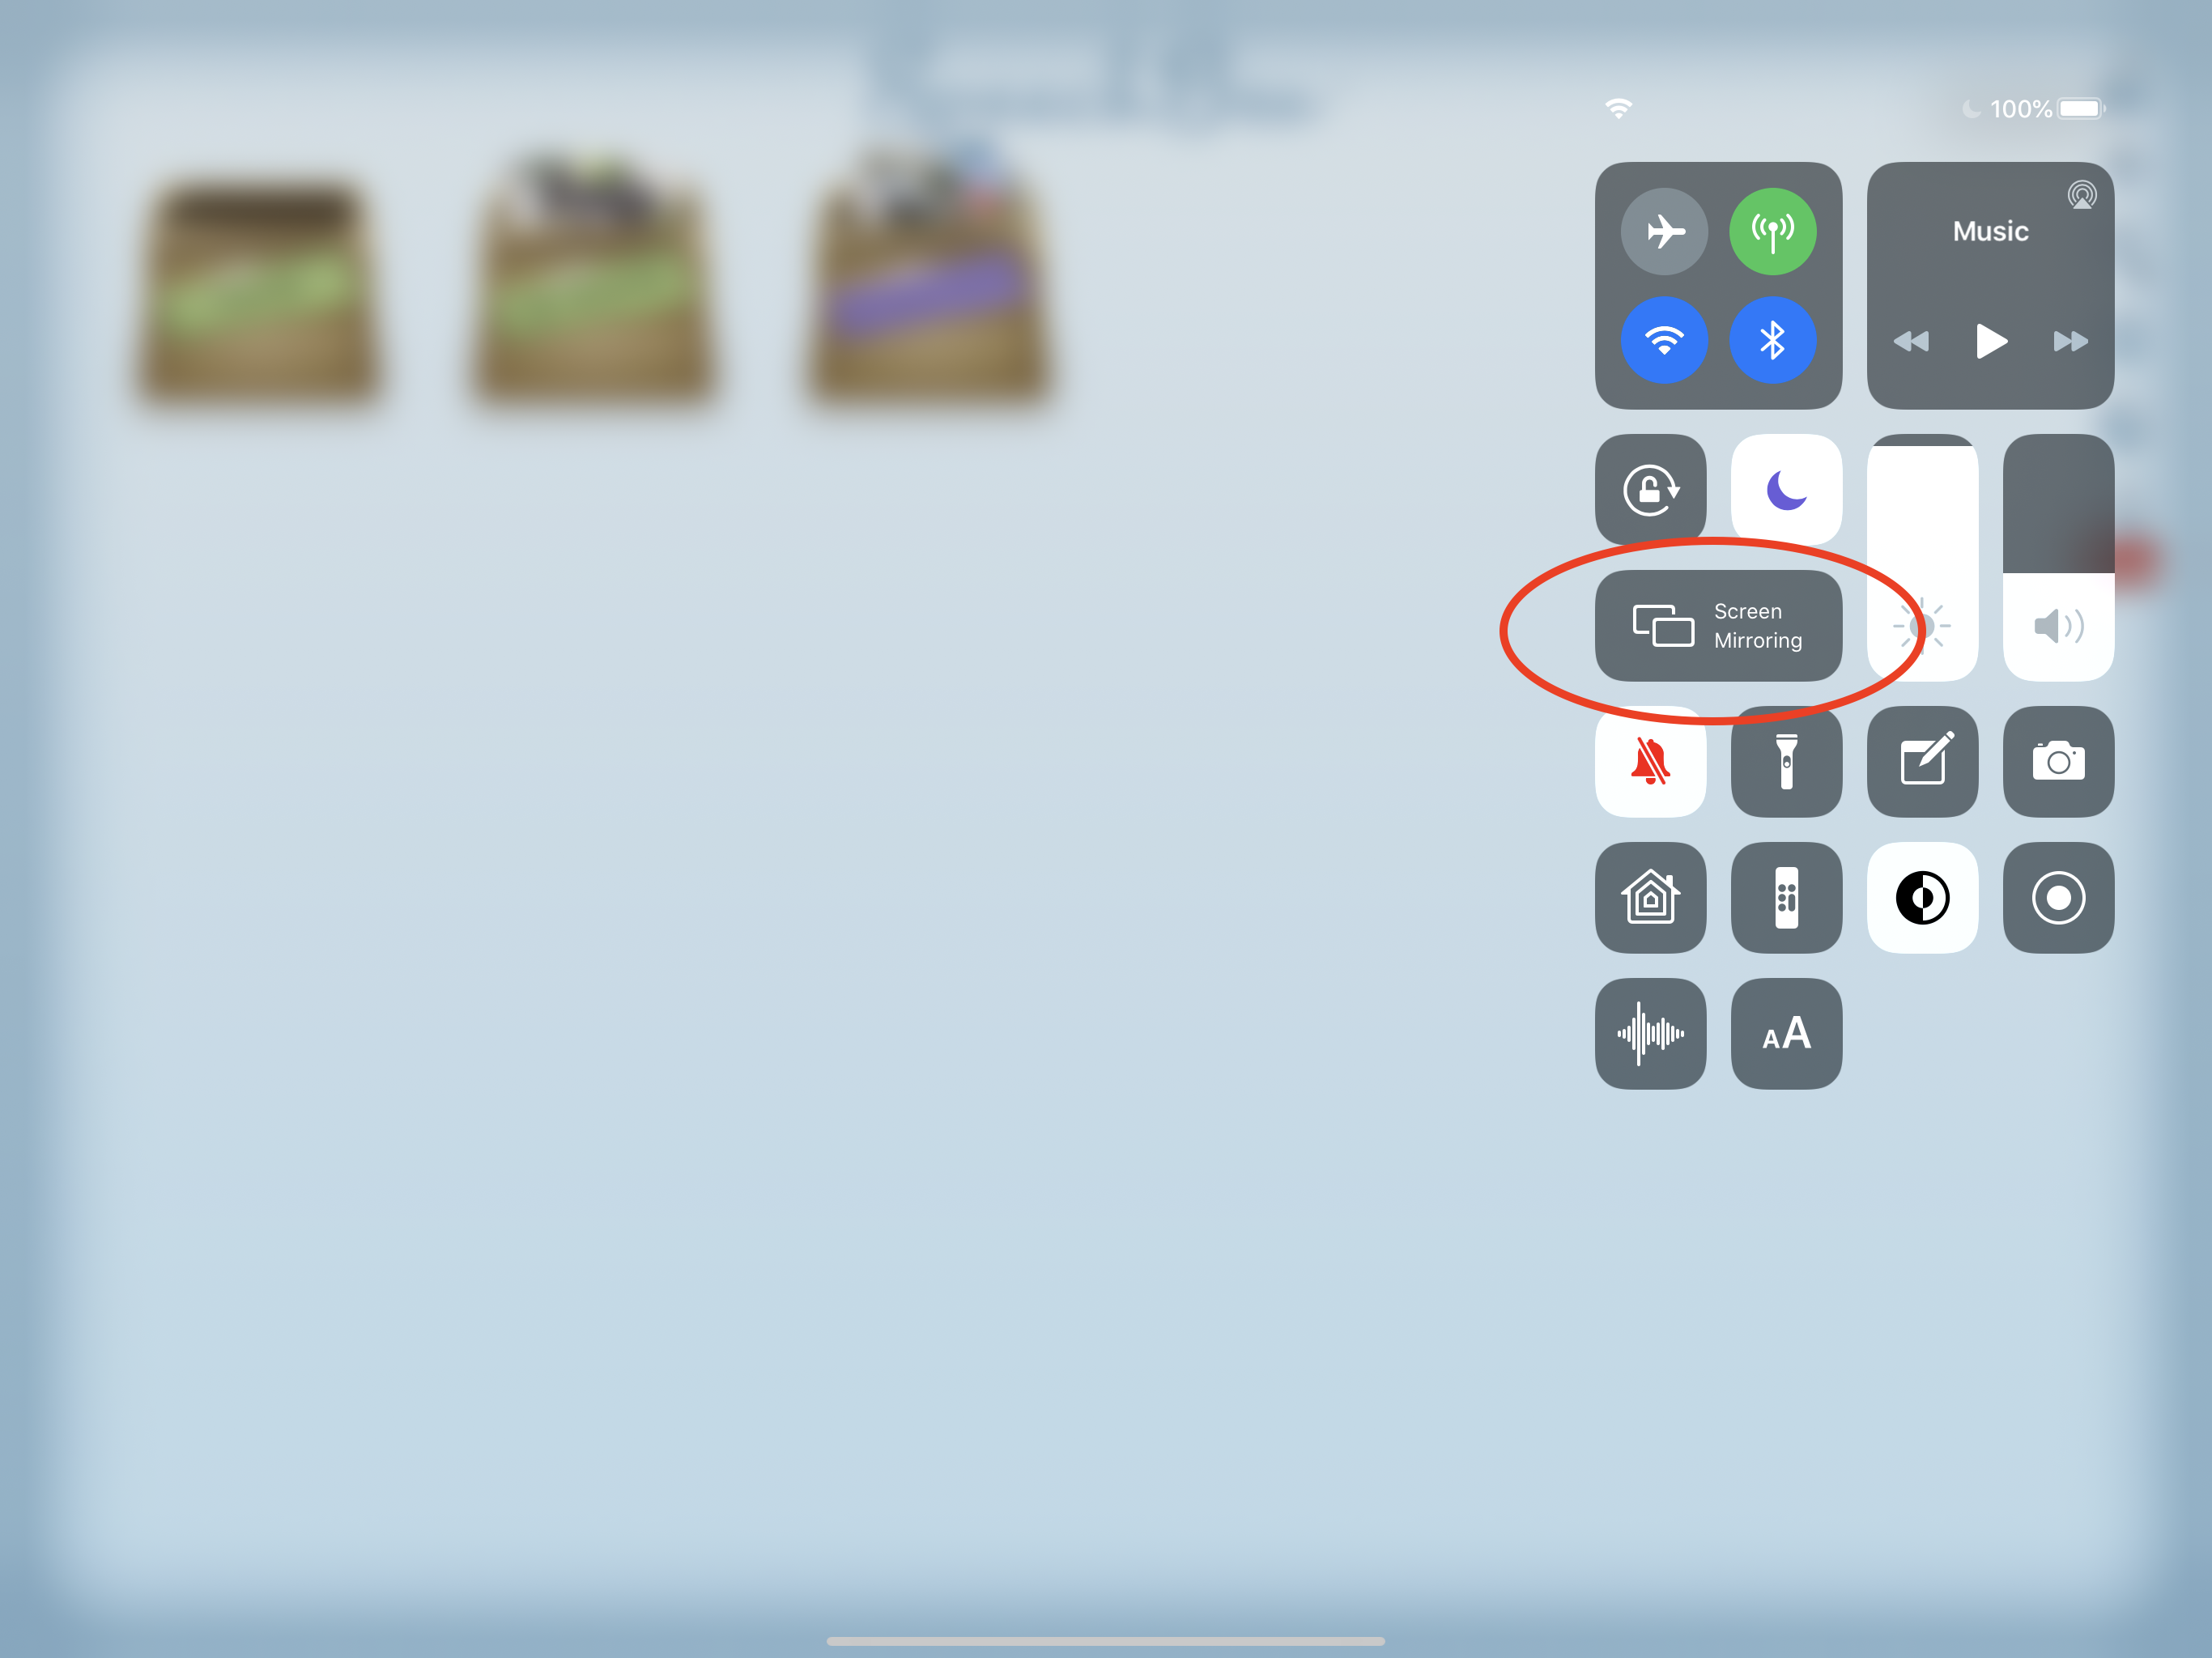
On your iPhone or iPad, access control center. On iOS 13+ you can do this by swiping down on the upper right hand corner. Next, tap “Screen Mirroring”:
Select the option that’s “Zoom-[computer name]”:

Your iPad or iPhone is now shared into the meeting! You can now use SpeechBox as if you were in-person!
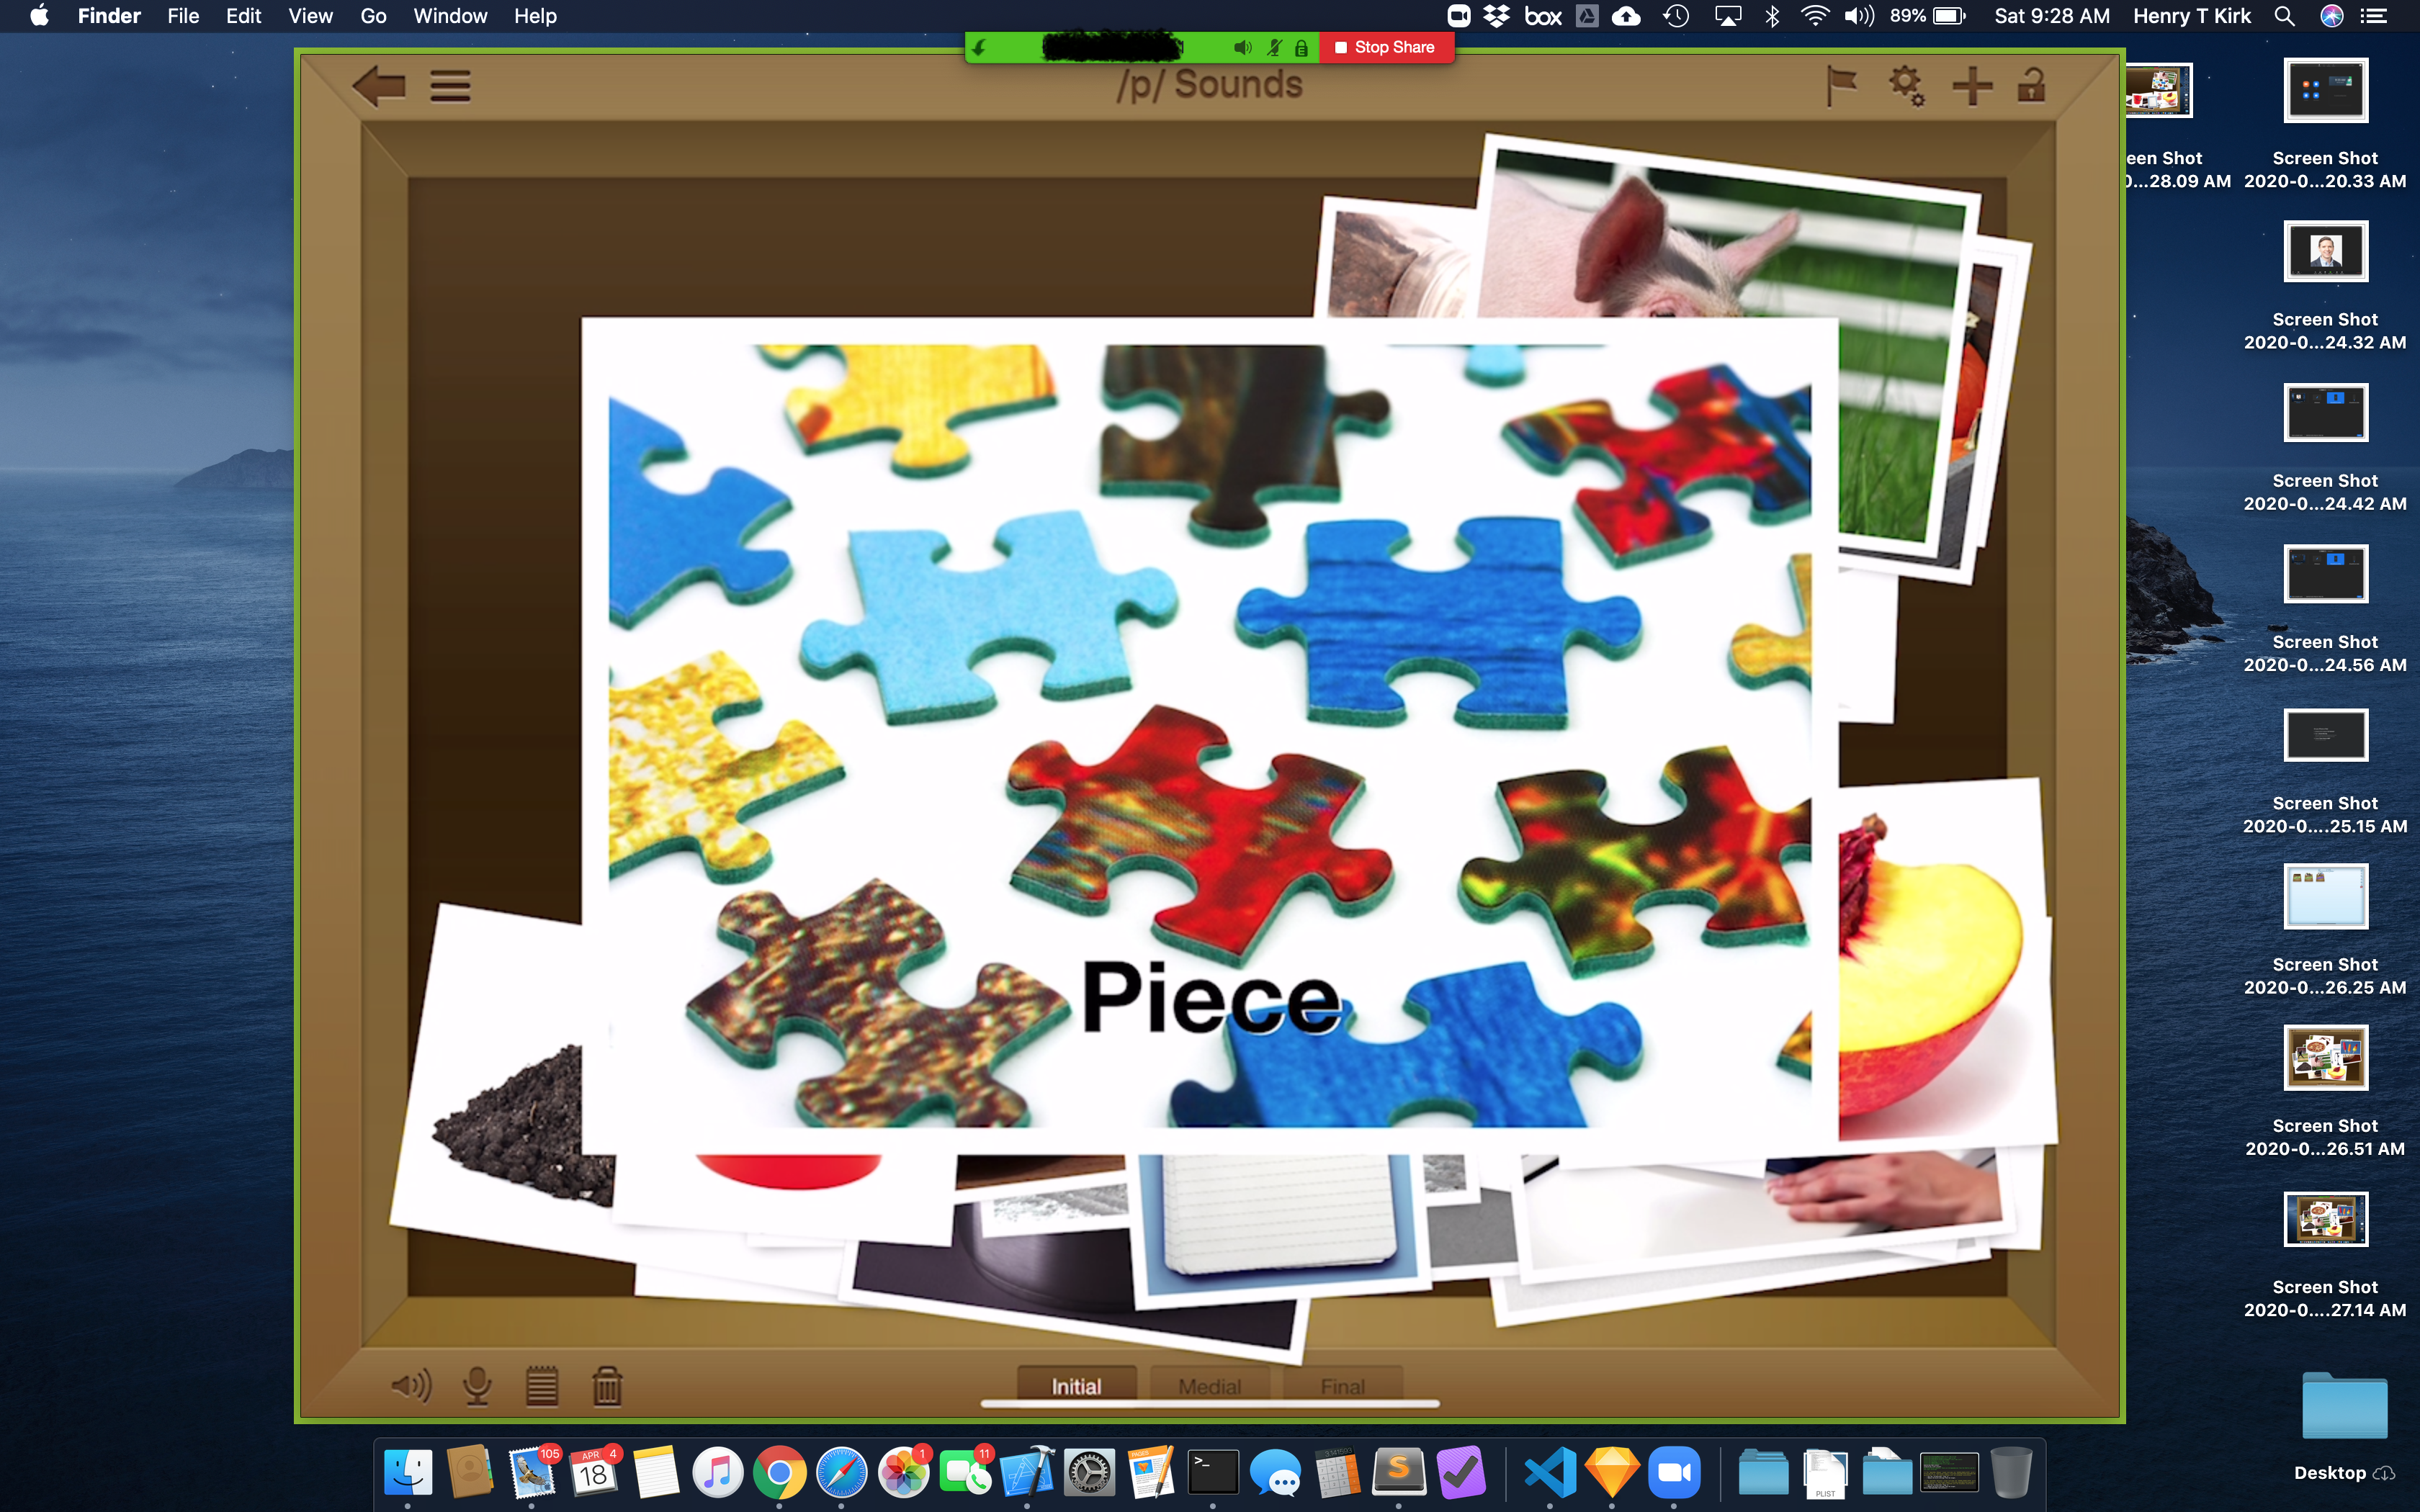
Wired Connection (Mac only)
Select Wired and make sure “Share computer sound” is checked off in the lower left hand corner.

Next, you’ll see instructions to connect your iPhone/iPad to your desktop via your lightning cable (USB-C on iPad Pros). Once you connect your iPhone/iPad via cable, you’ll see a message to trust the computer. Tap “Trust” to continue.
Your iPad or iPhone is now shared into the meeting! You can start using SpeechBox just like in-person!
If you need help, feel free to contact us. You can also view Zoom’s support article on the topic here.